
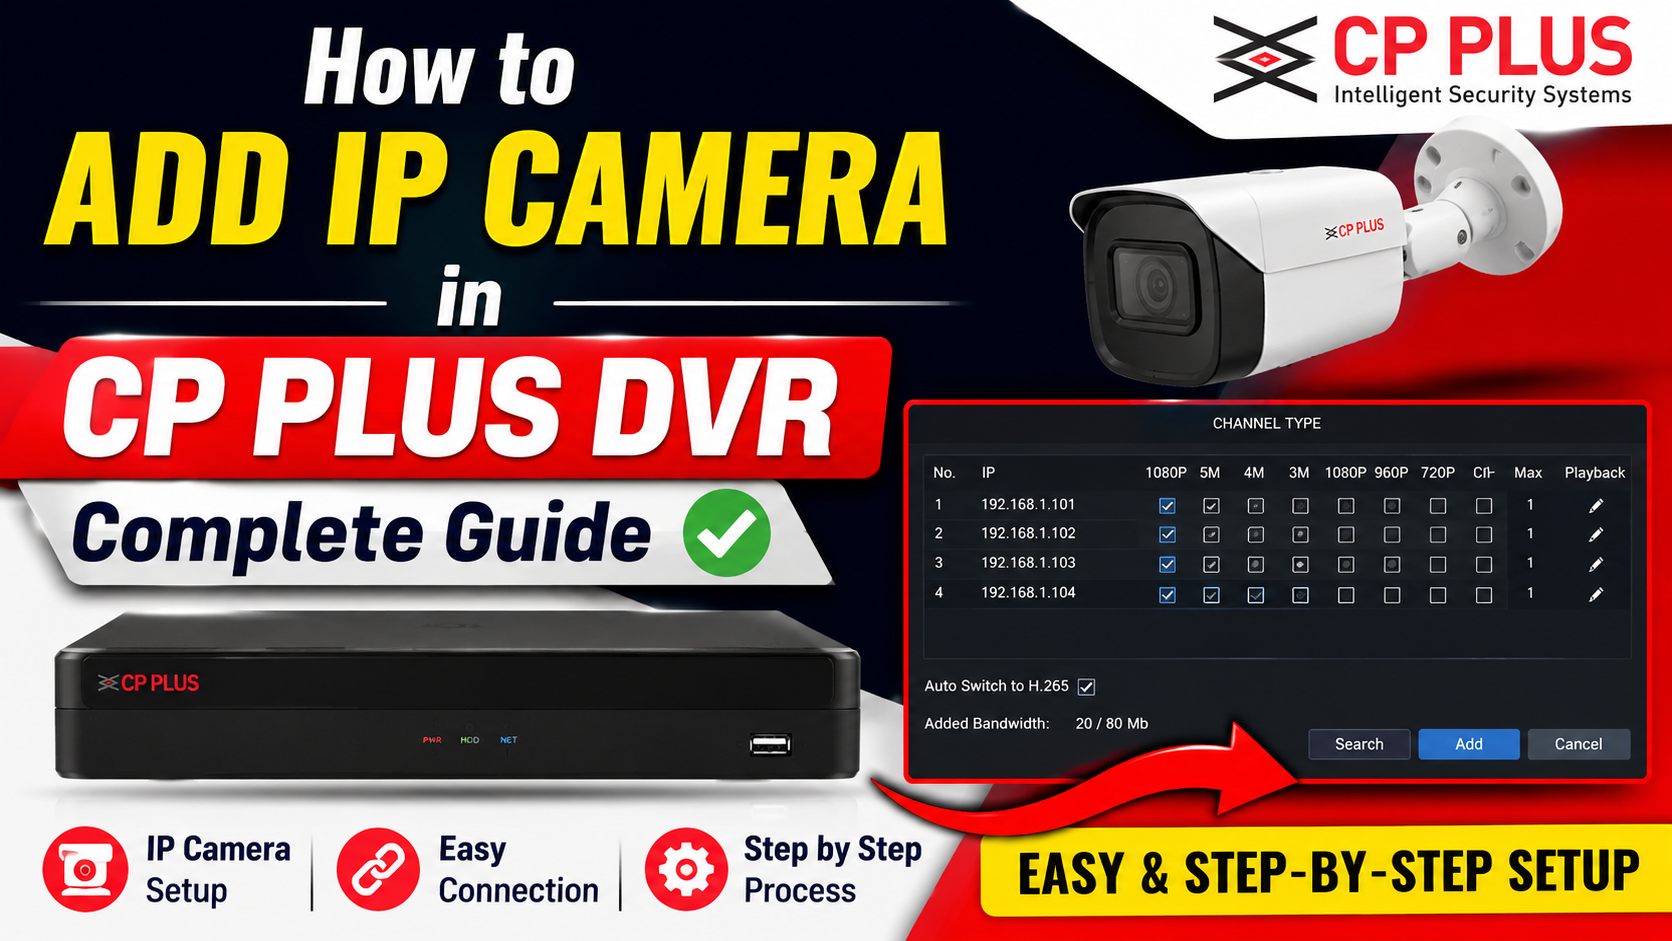
Learn how to add a CP PLUS IP Camera in a DVR with this complete step-by-step tutorial. In this video, you'll learn how to connect, configure, and view your CP PLUS IP camera through a compatible DVR. This guide is perfect for beginners, installers, and CCTV technicians.
📌 In This Video:
CP PLUS IP Camera Setup
Add IP Camera to DVR
Configure Network Settings
Search & Add Camera
Live View Configuration
Troubleshooting Connection Issues
Compatible with CP PLUS STQC IP Cameras
If this tutorial helps you, don't forget to Like 👍, Share 📤, and Subscribe 🔔 for more CCTV, Networking, and Security System tutorials.
How to Add IP Camera in CP PLUS DVR – Complete Guide
Are you looking to connect an IP Camera to your CP PLUS DVR? In this complete tutorial, you'll learn how to add and configure an IP camera in a CP PLUS Hybrid DVR quickly and correctly. Whether you're installing a new surveillance system or upgrading an existing CCTV setup, this guide will help you complete the configuration without any confusion.
Many CP PLUS Hybrid DVR models support both analog cameras and IP cameras, allowing you to increase the total number of camera channels. For example, a 4-channel Hybrid DVR may support 2 additional IP cameras, while 8-channel and 16-channel models can support even more, depending on the DVR model and firmware. Always verify your DVR's specifications before starting.
Before adding the IP camera, make sure you have:
CP PLUS Hybrid DVR with IP camera support
Compatible CP PLUS or ONVIF IP Camera
Cat5e/Cat6 Ethernet cable
Network switch or PoE switch (if required)
Router or LAN connection
Monitor, mouse, and power supply
Username and password for the IP camera
Connect the IP camera to your network using a Cat6 cable. If the camera supports PoE, connect it to a PoE switch or PoE injector. Ensure both the DVR and the IP camera are connected to the same local network.
Wait for the camera to boot completely before proceeding.
Find the IP address assigned to your camera.
Use the manufacturer's IP Finder Tool, or
Check your router's DHCP client list.
Ensure the camera and DVR are on the same subnet.
Example:
DVR IP: 192.168.1.100
Camera IP: 192.168.1.108
Subnet Mask: 255.255.255.0
If necessary, assign a static IP address to the camera to avoid future connection problems.
On the DVR:
Main Menu → Camera → Encode → Channel Type
Select the channel you want to convert from Analog to IP mode.
After changing the channel type, the DVR will automatically restart. This is a normal process.
After the DVR restarts:
Main Menu → Camera → Remote IP Search (or Add IP Camera, depending on the DVR model)
Click Search.
The DVR will scan the network and display all compatible IP cameras available on the LAN.
If your camera appears:
Select the camera.
Click Add.
If the camera is not detected, you can manually add it.
If Auto Search does not find the camera:
Click Manual Add and enter:
Camera IP Address
Port Number
Username
Password
Protocol (ONVIF or CP PLUS Private Protocol)
Click Save.
If the entered information is correct, the camera status should change to Online within a few seconds.
Return to the Live View screen.
You should now see the IP camera displaying video.
If the screen remains black or the status shows Offline, verify:
IP address
Username and password
Network cable
ONVIF compatibility
Camera firmware
DVR firmware
Confirm both devices are on the same network.
Disable firewall temporarily if necessary.
Check the Ethernet cable.
Verify the correct username and password.
Enable ONVIF on the IP camera if required.
Reset the camera password if necessary.
Confirm the camera IP is reachable.
Restart both DVR and camera.
Assign a static IP address.
Ensure the camera resolution is supported by the DVR.
Try changing the encoding from H.265 to H.264 if compatibility issues occur.
Higher video quality
Better image clarity
Flexible network installation
Easy expansion of existing CCTV systems
Remote monitoring support
ONVIF compatibility with many third-party cameras
Yes, if your DVR supports IP channels and the camera supports the ONVIF protocol or is compatible with the DVR.
The number depends on your DVR model. Check the specifications to determine the maximum supported IP channels.
Usually due to:
Incorrect IP address
Wrong username/password
Network mismatch
Unsupported camera protocol
Firmware compatibility issues
Adding an IP camera to a CP PLUS Hybrid DVR is simple once your network is configured correctly. By connecting both devices to the same LAN, assigning the proper IP addresses, changing the DVR channel type, and adding the camera through Auto Search or Manual Add, you can expand your surveillance system with high-definition IP cameras in just a few minutes.
If this guide helped you, don't forget to like the video, subscribe to the channel, and share it with others who want to learn CCTV installation and networking. Stay tuned for more step-by-step tutorials on CP PLUS, Hikvision, Dahua, Prama, TP-Link, biometric systems, networking, and security solutions.
No comments yet.